


Page 47 - Demo
P. 47
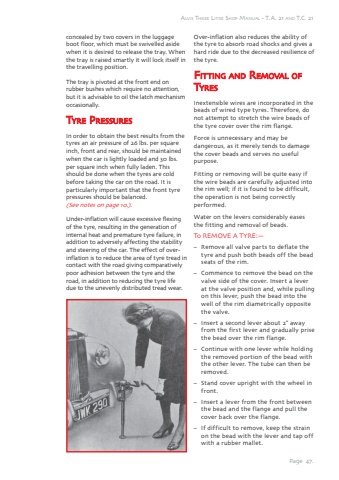
Page 47.Alvis Three Litre Shop Manual - T.A. 21 and T.C. 21concealed by two covers in the luggage boot floor, which must be swivelled aside when it is desired to release the tray. When the tray is raised smartly it will lock itself in the travelling position.The tray is pivoted at the front end on rubber bushes which require no attention, but it is advisable to oil the latch mechanism occasionally.Tyre PressuuresIn order to obtain the best results from the tyres an air pressure of 26 lbs. per square inch, front and rear, should be maintained when the car is lightly loaded and 30 lbs. per square inch when fully laden. This should be done when the tyres are cold before taking the car on the road. It is particularly important that the front tyre pressures should be balanced.(See notes on page 10.).Under-inflation will cause excessive flexing of the tyre, resulting in the generation of internal heat and premature tyre failure, in addition to adversely affecting the stability and steering of the car. The effect of overinflation is to reduce the area of tyre tread in contact with the road giving comparatively poor adhesion between the tyre and the road, in addition to reducing the tyre life due to the unevenly distributed tread wear.Over-inflation also reduces the ability of the tyre to absorb road shocks and gives a hard ride due to the decreased resilience of the tyre.Fitti ittingg aand RRemmovaval off TyresInextensible wires are incorporated in the beads of wired type tyres. Therefore, do not attempt to stretch the wire beads of the tyre cover over the rim flange.Force is unnecessary and may be dangerous, as it merely tends to damage the cover beads and serves no useful purpose.Fitting or removing will be quite easy if the wire beads are carefully adjusted into the rim well; if it is found to be difficult, the operation is not being correctly performed.Water on the levers considerably eases the fitting and removal of beads.To REMOVE A TYRE:%u2014%u2013 Remove all valve parts to deflate the tyre and push both beads off the bead seats of the rim.%u2013 Commence to remove the bead on the valve side of the cover. Insert a lever at the valve position and, while pulling on this lever, push the bead into the well of the rim diametrically opposite the valve.%u2013 Insert a second lever about 2%u201d away from the first lever and gradually prise the bead over the rim flange.%u2013 Continue with one lever while holding the removed portion of the bead with the other lever. The tube can then be removed.%u2013 Stand cover upright with the wheel in front.%u2013 Insert a lever from the front between the bead and the flange and pull the cover back over the flange.%u2013 If difficult to remove, keep the strain on the bead with the lever and tap off with a rubber mallet.


